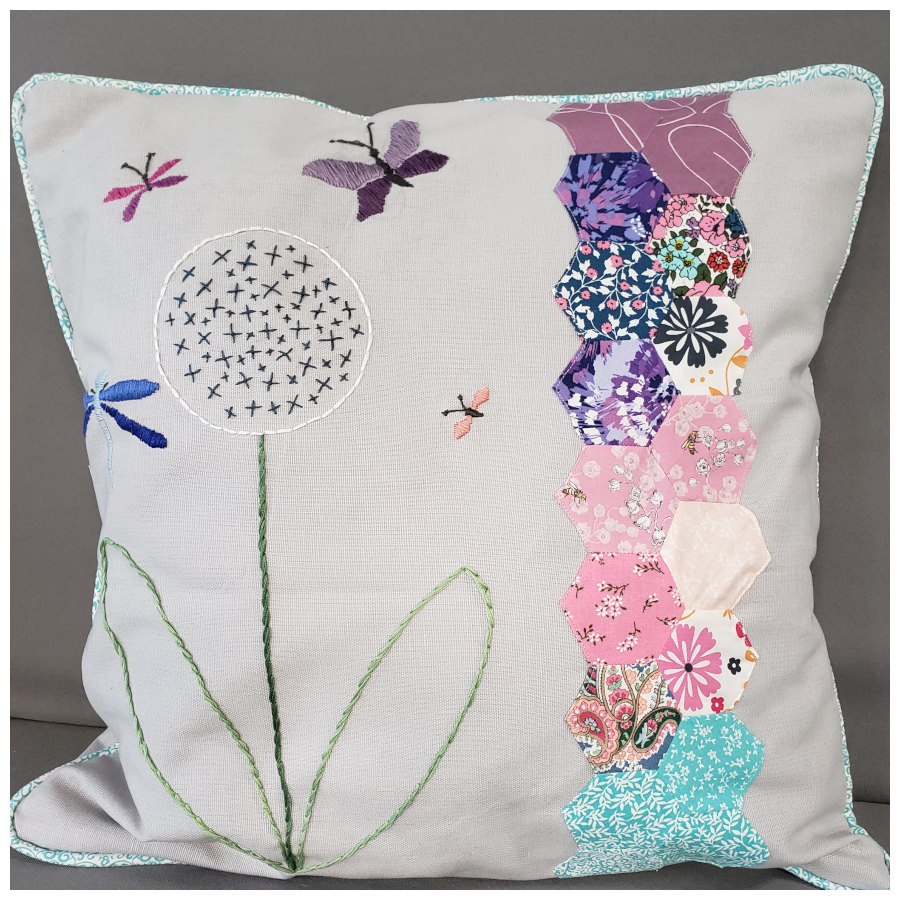
Here is a great project to start with if you want to use your waste fabric. During the pandemic, I made so many cotton masks that I collected so many small pieces of fabric. I was determined to find a project for them. While I was taking embroidery classes, an idea came to mind, and this project was born.
The pillow case I made was made of canvas material, which would go with most colors of scrap fabric. Although it could be white, it would be too easy to look dirty. The fabric could also be black, but then it would be harder to draw on it. For that reason, I chose a light gray fabric. It all depends on what you're inspired to make. Let your inspiration guide you.
Several pieces of cotton fabric were gathered, and I began selecting colors that would make a good mix. From the gamut of colors, I chose pinks, purples and aquas.
In my search for a hexagon shape, I found that it doesn't just mean six corners. To be able to connect many pieces without a problem, it must have a symmetrical shape.
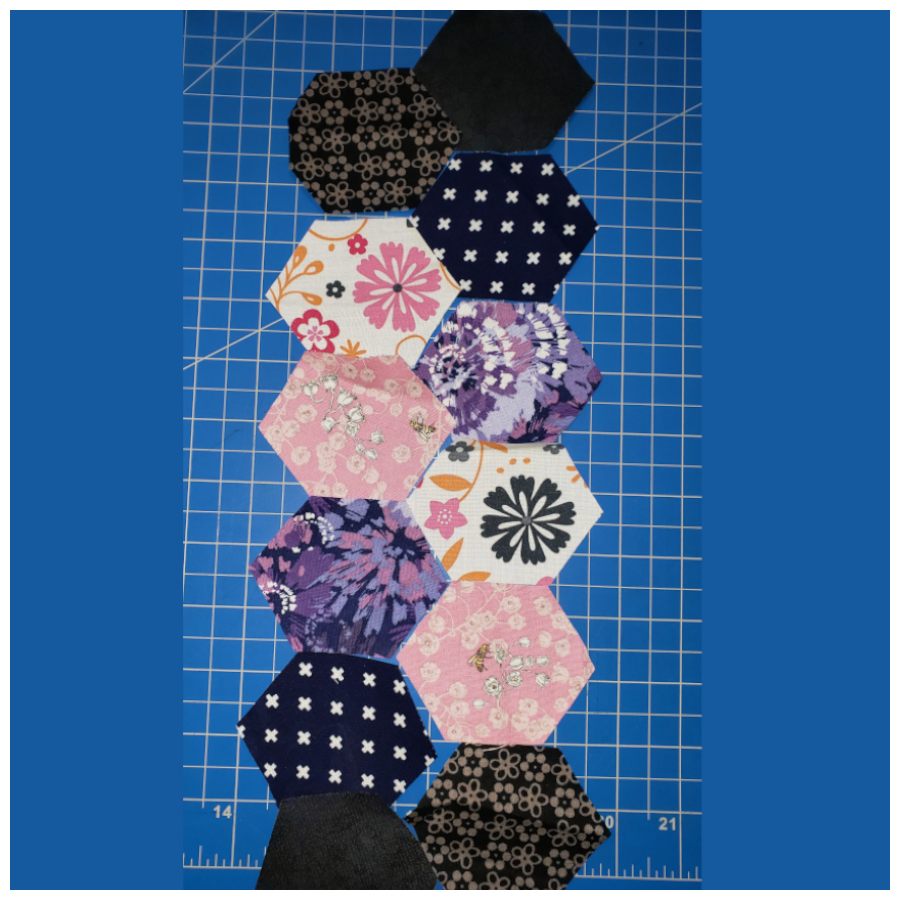
It was easier to draw them when I found a pattern with multiple sizes. The measurement I chose was... with seam allowance already included. This is a good tip: I was in the fabric store recently, and they have acrylic rulers with hexagons of different sizes. This would have made my life easier.
Cut all of the hexagons you think you are going to need and then add 4 more. This is necessary to fully cover the top and bottom edges. I used 18 hexagons in total. Then I started arranging the cotton fabric hexagonal shapes to decide how to display them on the pillow case.
This pillow was designed with two columns. Then I pinned each column together, separately. Sewing between the bottom of one hexagon, to the top of the following hexagon. Placing the right sides together. I ended up with two columns, and then I sewed the center of the two columns, with the right sides together.
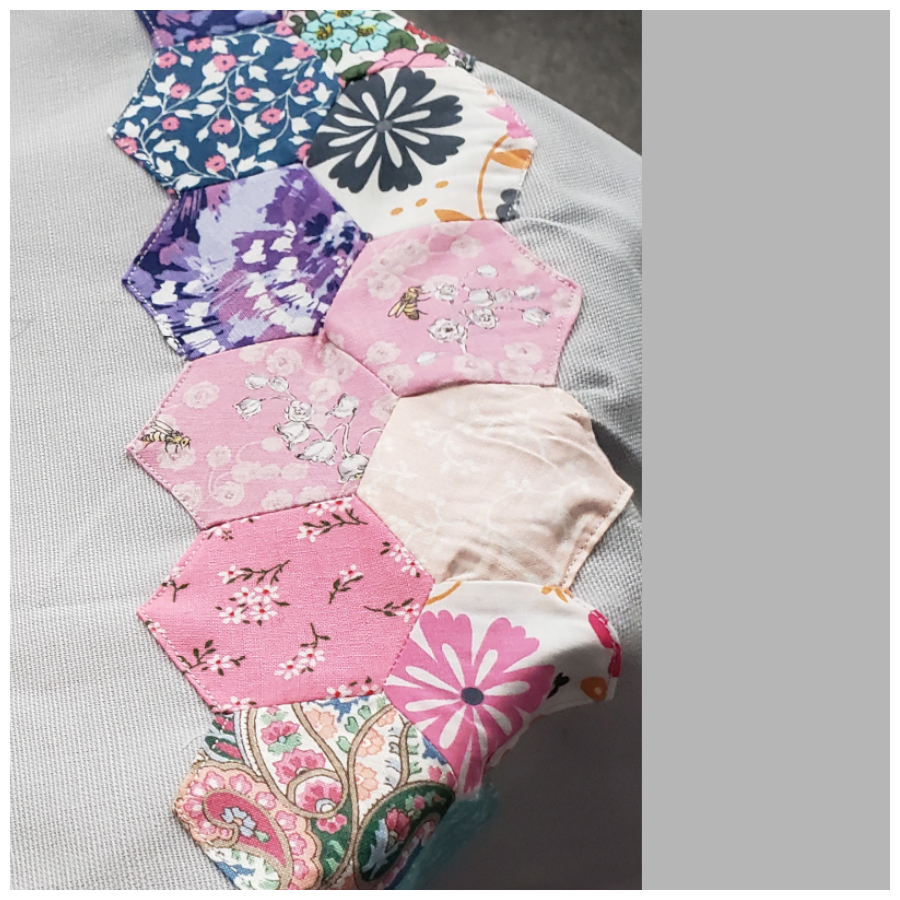
Placing the hexagonal columns onto the cover pillow is very easy. Iron the seam allowance of the left and right edges towards the inside. Next, place the hexagonal columns on the right side of the front of the pillow case. Then attach with a normal straight stitch using your sewing machine.
Now you are ready to draw. I have learned some embroidery techniques, but free design can make a piece unique. I have an embroidery stand that my grandma gave to me. This is such a useful piece. I put the fabric there and I used a pencil to draw my embroidery designs. I drew a dandelion flower, two butterflies, a pretty mosquito, and a dragon fly.
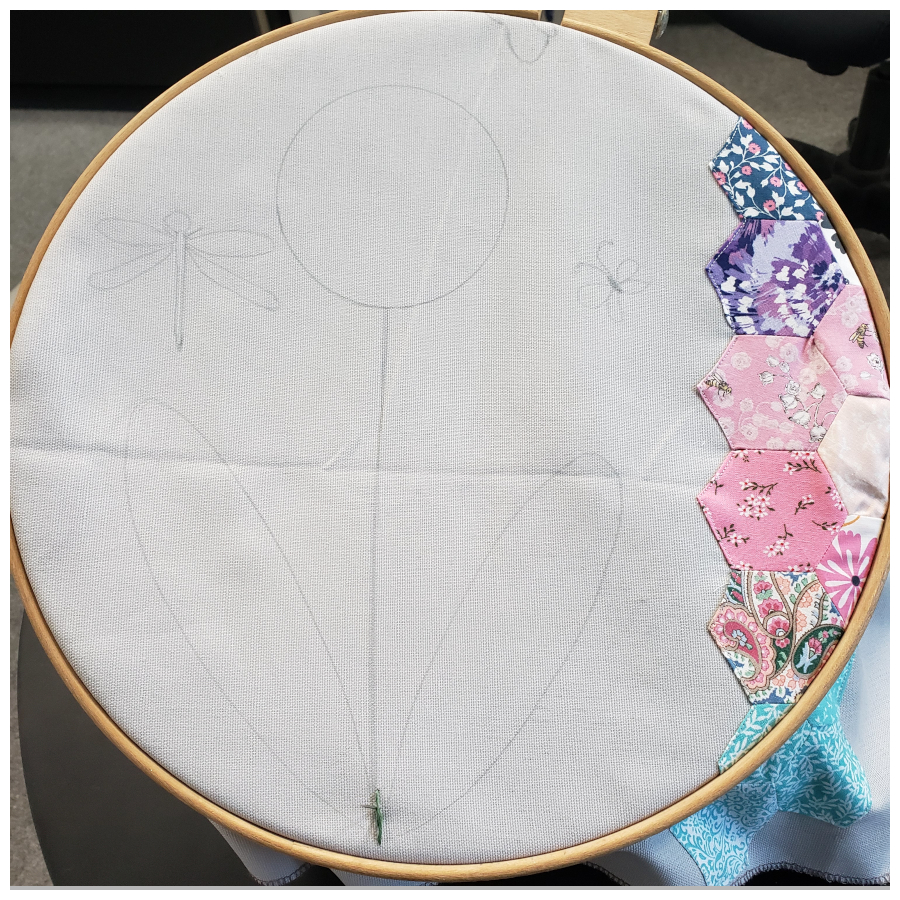
Next I started my embroidery journey.
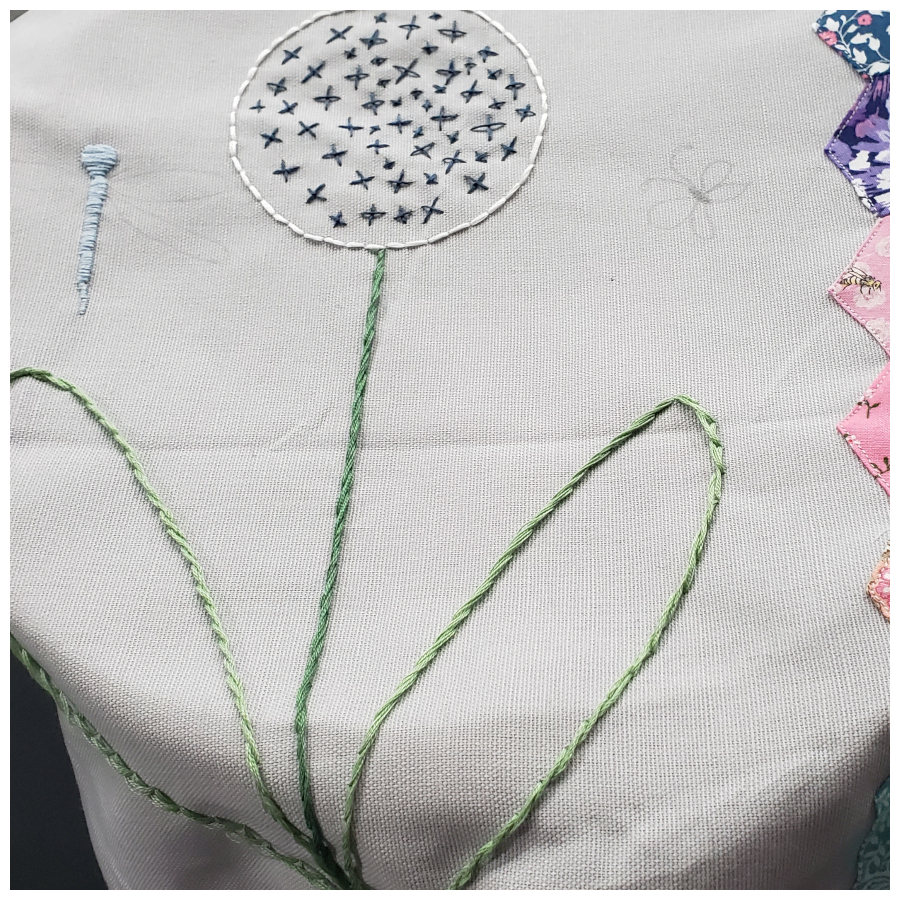
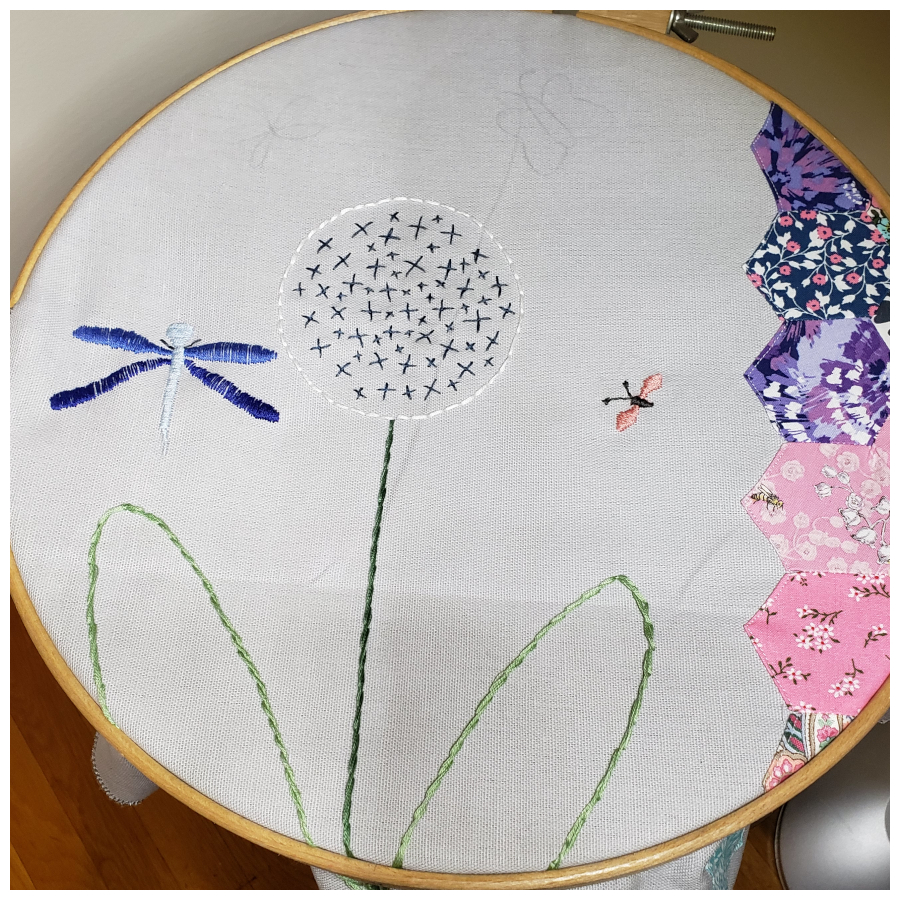
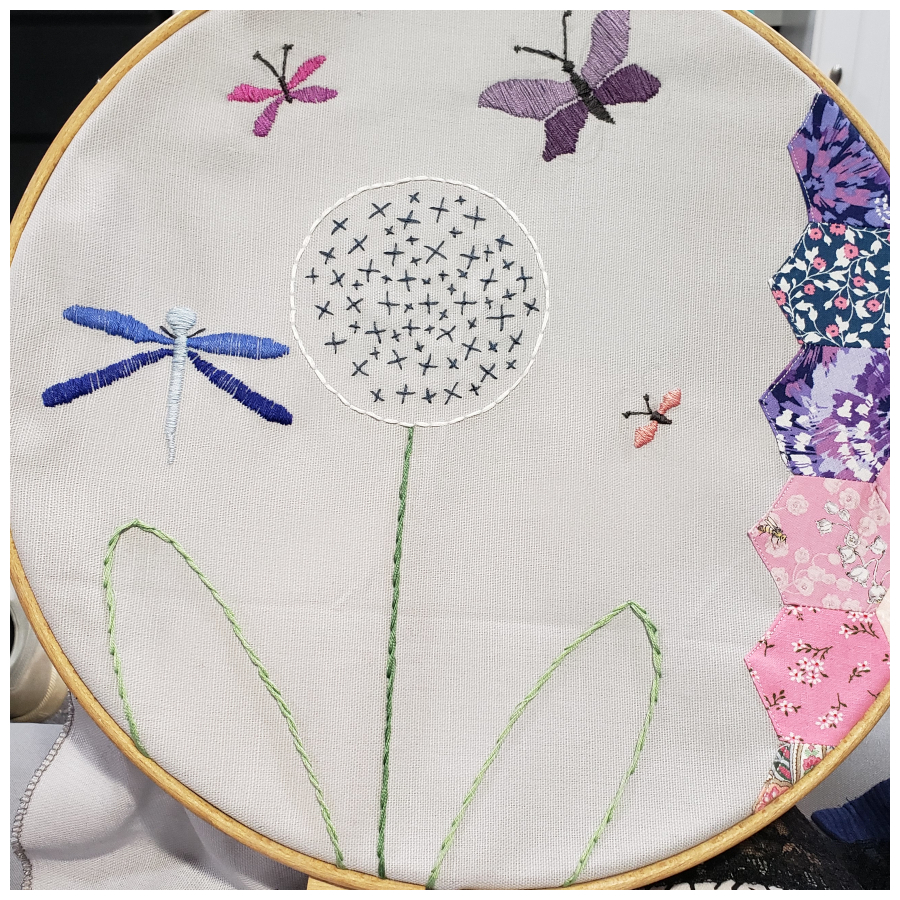
To give the pillow an elevated look, I added piping in the borders using a macrame string on the inside edge and using scraps of fabric to cover it.
Finally I added a gray invisible zipper on the bottom of the pillow case. Here is the final result.
